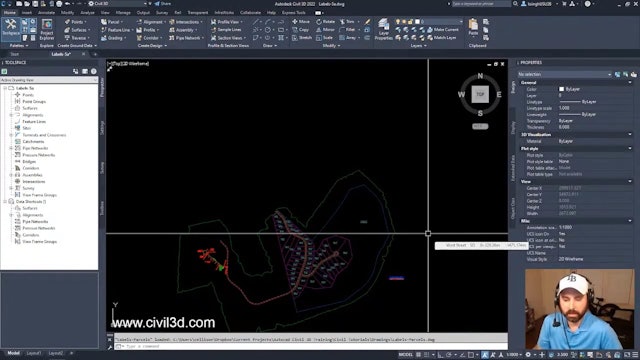
Label and Table Essentials
These tutorials will get you started creating and editing labels, label styles, and tables.
In Autodesk Civil 3D, you can annotate objects that exist in externally referenced drawings. This keeps annotations separate from the design data. This greatly reduces the file size of the annotation drawing, and allows greater flexibility in managing design data.
Object labels in Autodesk Civil 3D include types that are placed automatically and others that you can place manually at points of interest. Sometimes, automatic labels overlap other objects and must be moved. Also, you may want to make some of them look different from others.
Most objects in Autodesk Civil 3D have two types of labels. The first type is automatically created when the object is created, as defined by the object properties. The second type is a range of object labels that are manually applied as needed. For both types of labels, you can edit the label style and make changes to all labels that use that style. You can also modify individual labels by moving them manually in the drawing. When labels are moved, they assume their dragged state, which can use a different display format. Some labels can be converted to small tags that occupy less space in the drawing, and then the data for each tagged object can be displayed in a table.
Labels are distinct objects that are independent of the parent object that they annotate. Labels are dynamically linked to their parent object and automatically update when the parent object changes. However, labels reside on a separate layer and are not selected when you select the parent object.
-
01 Attaching Drawings as Xrefs for Annotation
-
02 Exploring the Annotation Tools on the Ribbon
-
03 Adding Labels in Groups
-
04 Manually Labeling an Object
-
05 Selecting and Moving Labels
-
06 Working with Label Properties
-
08 Changing Label Content in the Drawing Settings
-
09 Creating a Parcel Area Table
-
10 Converting Labels to Tags
-
11 Creating a Label Style

